Getting your materials ready is key to stretching canvas to frame successfully. You don’t want to run into problems halfway through. Grab everything you need before diving in, and you'll save yourself some headaches.
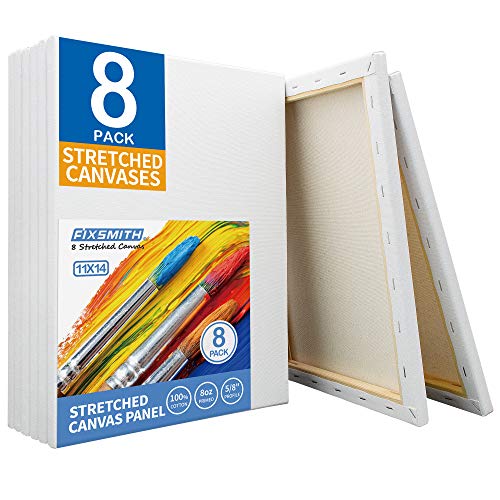
Start with your canvas. Choose a sturdy, high-quality one. This makes a big difference in how your finished project looks. Also, make sure you have your chosen frame ready. It's best to double-check that your canvas fits the frame snugly, so there’s no awkwardness later on.
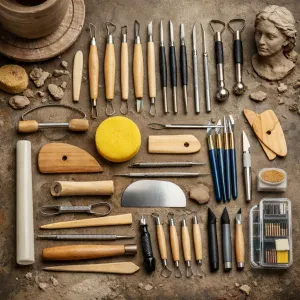
Next, gather your tools. You'll need a staple gun or tacks, a pair of scissors, and a level. Having these on hand will make the process smooth. If you want to avoid stretching yourself too thin, consider getting corner brackets. They help keep everything tight and tidy as you work.
Lastly, don’t forget your workspace. Find a flat, clean surface where you can lay everything out. This way, you can manage the canvas easily without worrying about spills or messes. A little prep goes a long way when you're ready to stretch canvas to frame!
Measure and Cut Your Canvas Right
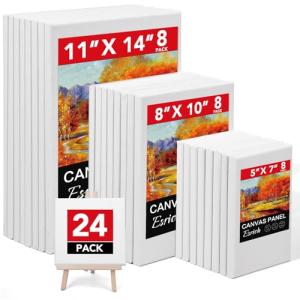
Getting your canvas ready to stretch onto a frame starts with measuring and cutting. It might sound tricky, but once you’ve got a few steps down, you’ll feel like a pro. First, grab your measuring tape and your canvas. Lay your canvas flat on a clean surface, and check its dimensions. It’s best to cut it a little larger than the frame. About two to three inches extra on each side will give you some room to work with. Trust me, you'll want that wiggle room!
Next up, let’s talk cutting. Use a sharp utility knife or scissors to cut your canvas. Go slow and steady – it helps to keep your hands steady. If you’re a perfectionist, you might want to use a straightedge or ruler as a guide. This way, you’ll get a nice, straight edge that hugs your frame just right. No one likes frayed or uneven edges!
Once you have your perfect piece of canvas, it’s time to get ready for the fun part – stretching it onto the frame! Align the center of your canvas with the center of the frame. This helps keep everything balanced as you go. If you want, you can use some painter's tape to hold it in place while you adjust everything. This way, you won't end up with a lopsided look. Follow along with these simple steps, and you’ll stretch canvas to frame like a champ in no time!
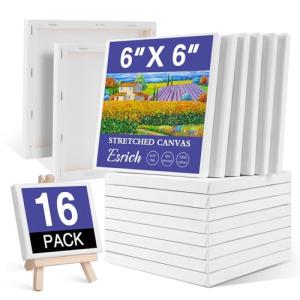
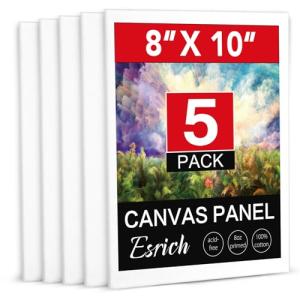
Small 6x6 Inch Stretched Canvas - 16 Pack
Perfect for quick sketches, tiny masterpieces, or fun art projects with friends
Product information
$23.99
Product Review Score
4.15 out of 5 stars
147 reviewsProduct links
Secure the Canvas to the Frame
Once you have your canvas ready, it's time to secure it to the frame. This step is crucial because a well-stretched canvas will give you a smooth surface for painting. Here’s how to do it.
First, lay your canvas face down on a clean surface. Position your frame over the canvas, making sure the edges align perfectly. It helps to have the canvas a bit larger than the frame so you can easily stretch it.
Now, start at the center of one side and pull the canvas over the frame. Use a staple gun or tacks to secure it. Place the first staple about an inch from the edge. Follow this by pulling the canvas snugly towards the opposite side — just enough to keep it tight but not so much that it tears.
Repeat this process for all four sides. Make sure to move to the opposite side each time to keep the tension even. You want to stretch canvas to frame without any dips or bubbles for a professional look.
Once you finish securing all four sides, give it a final check. If the canvas feels loose anywhere, you might need to add a few more staples. That’s it! Your canvas is now securely mounted and ready for your artistic touch.
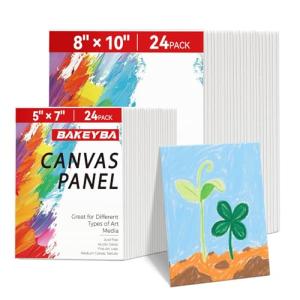
48 Pack Small Canvas Boards for Kids Painting
Perfect for little artists to unleash their creativity and make vibrant masterpieces!
Product information
$19.99
Product Review Score
4.85 out of 5 stars
118 reviewsProduct links
Finishing Touches for a Polished Look
Once you’ve taken the time to stretch canvas to frame, it’s all about those finishing touches that really take your artwork to the next level. These details not only enhance the appearance but also protect your work. Let’s dive into some easy ways to give your masterpiece a polished look.
First up, consider adding a protective coating. A good varnish can make your colors pop and add a nice sheen. It also keeps dust and dirt away, so your art stays fresh. Look for products labeled as UV-protective; these will guard against fading from sunlight. Applying this doesn’t have to be complicated—just follow the instructions, and you’re golden!
Next, think about the edges of your canvas. Whether you leave them raw or paint them a solid color, they can make a world of difference. If you choose to paint them, a simple black or white often works best. It adds a clean frame look without overwhelming your artwork. This small choice can really help your art stand out and look more finished.
Don’t forget about hardware for hanging! A sturdy D-ring or sawtooth hanger will securely keep your canvas on the wall. Make sure whatever you use can handle the weight of your piece. Knowing your artwork will stay put gives you peace of mind, letting you enjoy your stunning creation.
Finally, consider a fabric backing. This not only helps in avoiding dust but also adds a nice touch to the overall look. It feels professional and can even enhance the durability of your piece. With these simple finishing touches, your canvas will shine brightly and be ready to impress everyone who sees it!